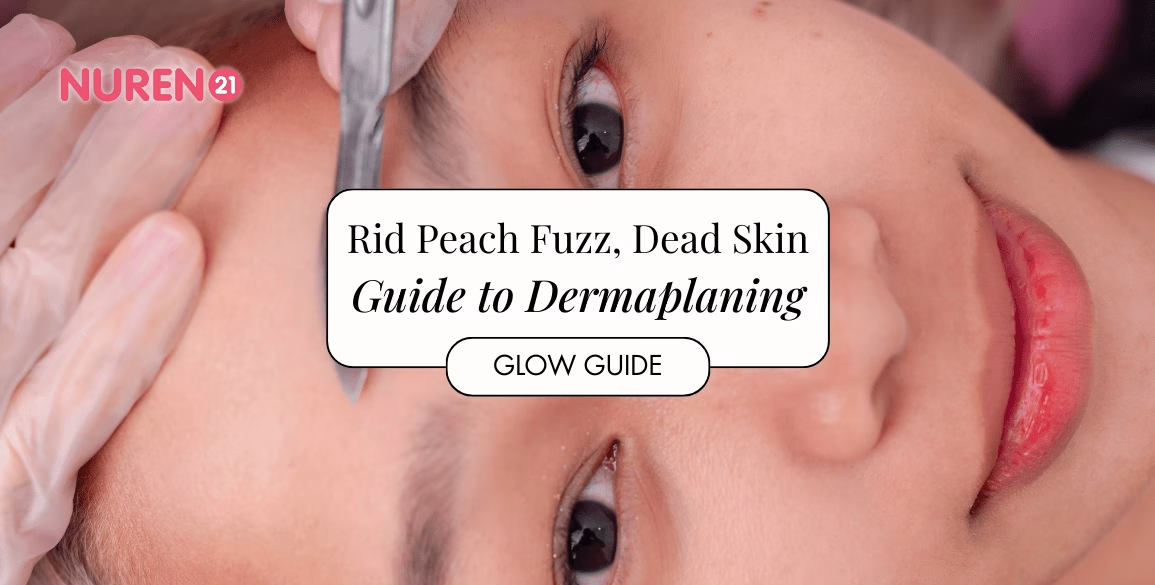
If you scroll on TikTok long enough and your algorithm is even slightly in your favour, you will eventually land on a dermaplaning video.
It would look a lot like a girl spraying shaving cream on her face; all peach fuzz looks a bit more apparent, and she starts scraping it off with a metal ‘blade’.
It literally looks like snowfall.
Even our very own beauty girlie Dahlia Rizal swears by it, gliding that blade like it’s second nature.
It looks so effortless that half of us have probably hovered over a pharmacy razor thinking, “Should I just try it?”
But here’s the thing: dermaplaning is one of those treatments that looks simple, yet comes with myths, risks, and techniques we rarely hear about until something goes wrong.
So, before you grab a blade and start scraping, let’s get into what’s real, what’s hype, and what your skin actually needs.
What Dermaplaning Actually Is

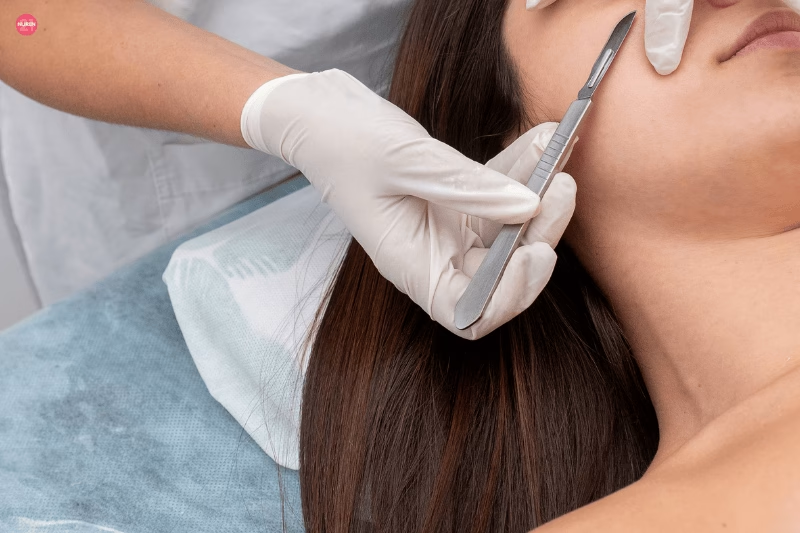
Dermaplaning is a form of physical exfoliation. It uses a sterile blade which glides across your skin to remove things like dead skin, peach fuzz, and dull skin buildup.
This is why the results look instantly smoother and brighter. Makeup blends like an absolute dream, SPF sits better, and your skin feels soft-soft.
But because it involves a blade, there’s a right way to do it, and unfortunately, a wrong way too!
Myths Vs Truths of Dermaplaning
Myth 1: Your hair will grow back thicker.
Truth: Nope, vellus hair will grow back exactly the same. It may feel different at first because the tip is blunt, not tapered, but it does not turn into stubble or beard hair.
Myth 2: It’s just shaving for women.
Truth: The technique is different.
Shaving = removes hair.
Dermaplaning = removes hair + dead skin, giving that brighter, almost-filtered finish.
Myth 3: You can definitely DIY it at home.
Truth: You can… but it depends on your skin and your confidence. If you have active acne, eczema, rosacea, dermatitis or open wounds, dermaplaning can actually make things worse.
Myth 4: It doesn’t hurt at all.
Truth: It’s usually comfortable, but some people feel tingling, tightness, or itchiness afterwards. Completely normal, unless it lasts too long.
How to Dermaplane Properly (If You DIY Anyway)
Whatever your reason to attempt a DIY dermaplaning session, here’s the safest way to do it at home:
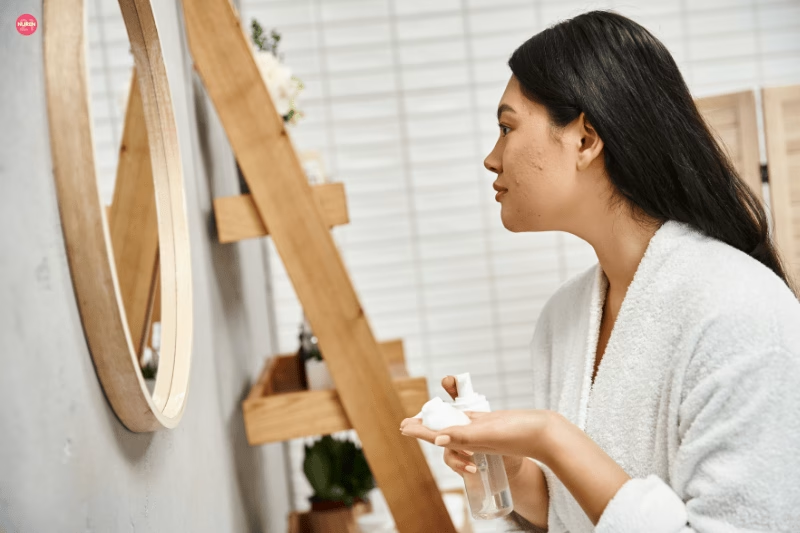
Start with a very clean face: no makeup, no SPF, no residue.
Do NOT dry shave: a cleansing oil works beautifully (which is exactly what I’ve done). The rule of thumb is slippery and moisturised skin = less friction and no dragging.
Hold the blade at a 45-degree angle: not flat, not straight on – this angle gives you control.
Use short, light strokes going with the direction of hair growth: this is important. Going against growth gives a closer result BUT increases irritation and bump risk.
Avoid bigger problems: steer clear of active pimples, open wounds, scabs, eczema patches, moles, raised bumps or inflamed areas.
Wipe the blade often: dead skin builds up quickly! To ensure a safe, smooth and nick-free session, clean it every 2 to 3 strokes with a clean makeup remover wipe or a cotton pad drenched with cleansing oil.
Never share your blade: not with your sister, not with your friend, not even with yourself from 1 week ago. Blades are strictly single-use.
The Not-So-Glam Side: What Could Go Wrong
Dermaplaning is generally low-risk but still a blade-on-skin procedure.
Potential side effects include:
- redness
- mild swelling
- itchiness
- tiny bumps
- sensitivity
- small nicks and potential infection if wounds are left uncleaned
Most importantly, if you have compromised skin or a weak barrier, this may not be for you.
Dermaplaning Aftercare
Dermaplaning leaves your skin fresh, exposed, and more absorbent, so give it all the goodness and protect it!
Moisturise: a hydrating cream or gel works well.
Avoid actives for 24 – 72 hours: absolutely no retinol, AHAs, BHAs, vitamin C, scrubs or acids.
SPF is a must: your skin will be extra sensitive to the sun.
Keep hands off your face: no touching, no scratching, no picking, no matter how much you want to.
Clean stinging cuts: put a dab of antiseptic cream on to avoid infection.
Should You Try Dermaplaning?
If you understand what your skin can handle, and you know how to do it safely, by all means, start planning your dermaplaning sesh. Start with a professional if you can; ensure your upcoming days are clear of any big events. DIY only when you’re confident and comfortable with the technique – best if you’ve done it multiple times so you know what to expect.
All in all, take it from someone who has done it: dermaplaning isn’t a miracle. If your skin is not healthy to begin with, it still would not be, but it can give you a glow-up when done properly.
Just remember that every procedure comes with its own risks, so it’s best to check on your current skin condition with your dermatologist and see if dermaplaning is truly suited for you.